Using Microsoft Flow (Power Automate) to calculate values for fields in Azure DevOps
Using Microsoft Flow (Power Automate) to calculate values for fields in Azure DevOps

Updated 10th Feb 2022: See the video for this blog post. DevOps Lab | Using Power Automate to calculate fields in Azure Devops - YouTube
Updated 5th Nov 2019: At Microsoft Ignite it was announced that Microsoft Flow is now called Power Automate. I have not changed the main text of this post below, so it will still mention "Flow".
In Azure DevOps you may want to calculate data in a particular field. For example the difference between two dates, or the number of people mentioned in a comment or somekind of mathematics.
In this example we will create a new workitem type that has three custom integer fields and then we will create a Microsoft Flow to calculate the difference between two numbers.
Creating a new workitem type
In the older versions of TFS, creating custom workitem templates was frowned upon because they didn't upgrade very well. Now we're using Azure DevOps things are much better!
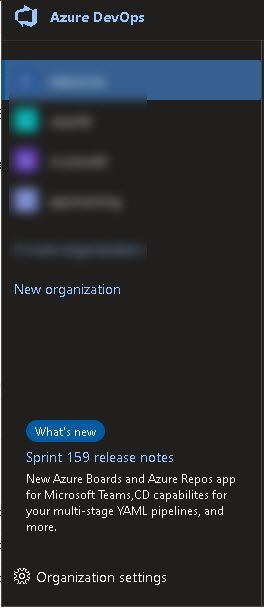
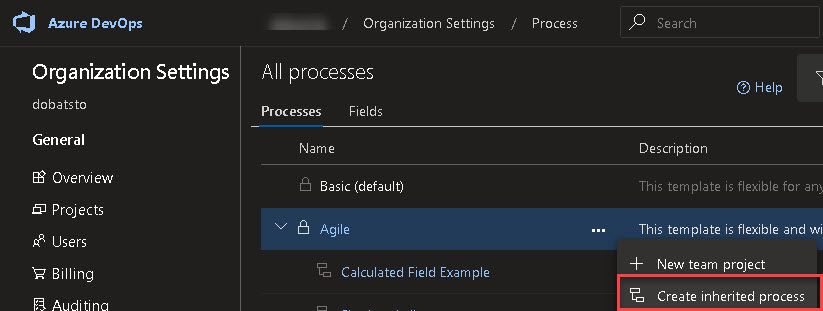
It's best to create an inherited process if you havent done so already. Mine is based on the Agile process and called "Calculated Field Example".
I created a new workitem type called "Hours Remaining" for this example. If you were doing this for the standard workitem types (bug, task, userstory, etc) then you'll need to add the custom fields to each workitem template.
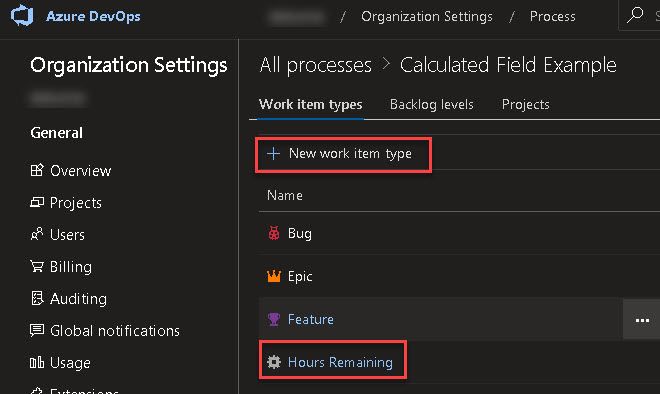
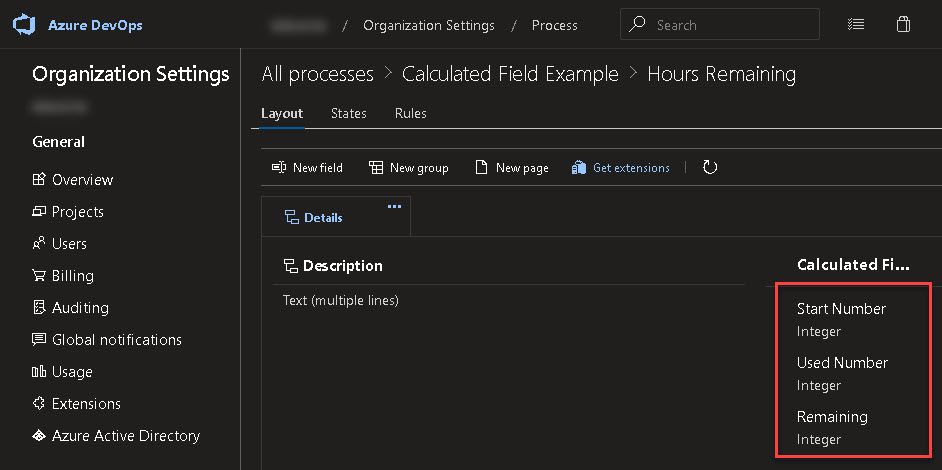
I added three integer fields to the new workitem. Only the first called "StartNumber" had a default value of 50 and was also set as "required".
Making the flow
If you visit https://flow.microsoft.com and then click "My Flows". To be honest, I'm too lazy tonight to look into "Team Flows" and "Business process flows". You can do that! I'm going to carry on with "My flows".
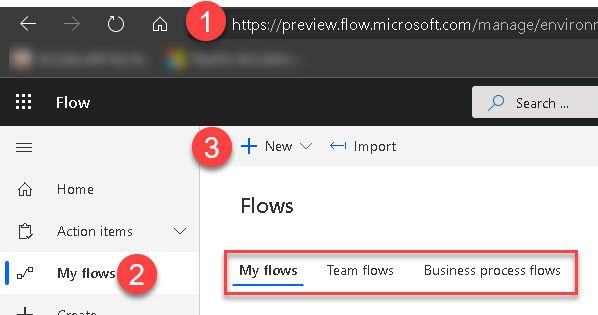
When you choose "New flow" choose in the dropdown "automated From Blank". When it says "Automated" this means it will be triggered by something automatically. In this case it will be when a work item is updated.
Give you flow a name, then in the second box you can start typing "when a work" which will automatically filter the list of triggers.
When the list is filtered choose "When a workitem is updated".

Once you've entered a name and chosen the trigger, click "Create".
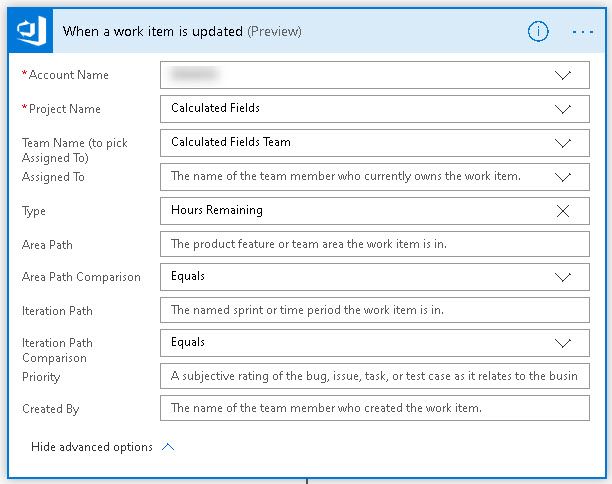
Now you can edit the trigger screen. Choose your project, team and workitem type. It's a bit clunky if you need this for multiple projects and workitem types. There may be a better way? If so, let me know in the comments! Notice that the "Type" is a dropdown, but mine is a customer type so I typed "Hours Remaining".
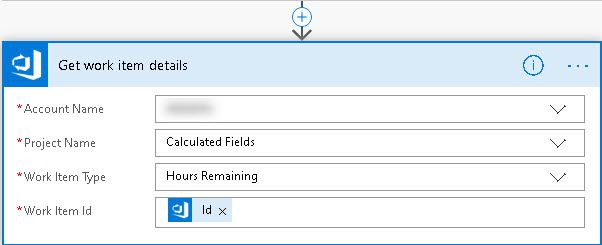
Then click the little plus under the box to add a new item called "get work item details". This will get detaiuls of the workitem and put it into some dynamic content behind the scenes.
Then click the + to add another box "update a work item" and click the option to "show advanvced options". Fill out the values as before (organmisation, project, type). The interesting bit comes next which is where we use an expression to do the maths on my custom fields.
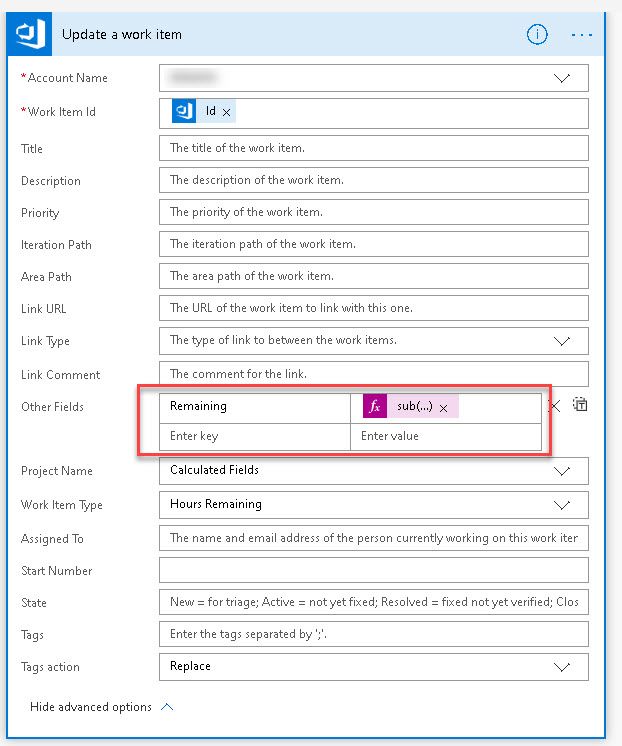
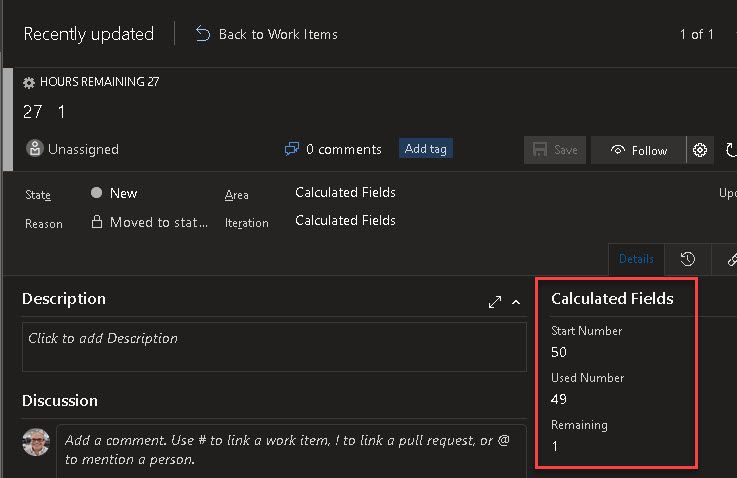
My destination custom field is called "Remaining". Behind the scenes in the dynamic json (the output from the previous step) it is refered to as "Custom_Remaining" becauwse in Azure Devops it is referred to as Custom.Remaining, but in this UI you can just refer to it by its short name which is Remaining.
Click Enter value and the dynamic content popout appears.
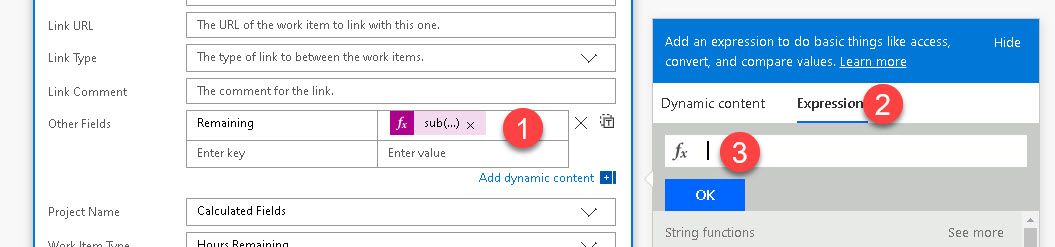
The expression we have used is
sub(triggerBody()?['Fields']?['Custom_StartNumber'],triggerBody()?['Fields']?['Custom_UsedNumber'])Where the command sub is subtract. The command trigerbody is the outputs from the previous step. I want to access the fields and in particular the custom fields Customer_StartNumber and Custom_UsedNumber. Notice that these are the full Azure DevOpos field names but with the . seperator replaced with the _ seperator.
Sub takes a number, then subtracts the second number. Therefore in this example I'm subtracting UsedNumber from StartNumber.
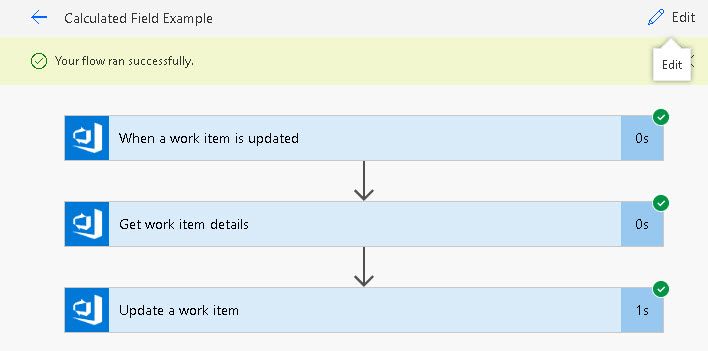
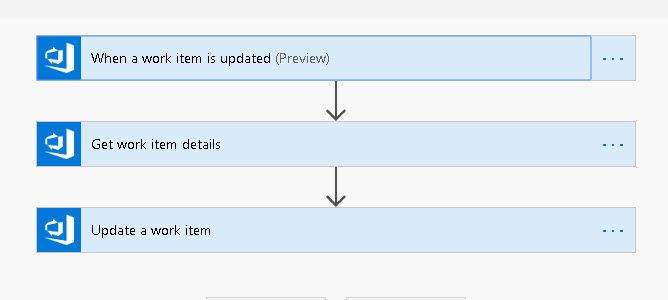
Save trhe flow and it will look like this.
Now go into to Azure DevOps and create a workitem and save it. Reemmber this is trigger by updating the workitem, go back into it and enter a value for UsedNumber (also check that StartNumber has a value - I defaulted mine to 50 for the demo).
you should have StartNumber filled with a number and UsedNumber filled with a number. RemainingNumber shoudl be left blank. Save and close the workitem.
Flow is not super quick, you may need to wait >30seconds before it does anything. No big deal.
Go back into the work item and see if it has filled in the Remaining box.
Yes, 50 - 49 = 1 Success!
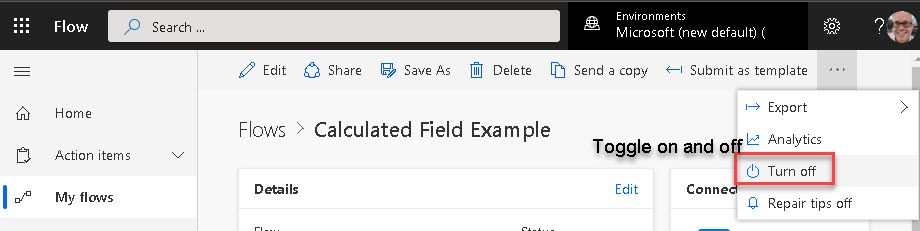
If your flow didn't do anything, you can go into the flow screen and click "Test". (Also check that the Flow is "Turned On" - it's a toggle to turn on and off).

Testing
If your flow doesnt work, you can click the Test button when in edit mode.

and then choose the data that you want to run during the test. If there is no data then your trigger is wrong (the first box in your flow).
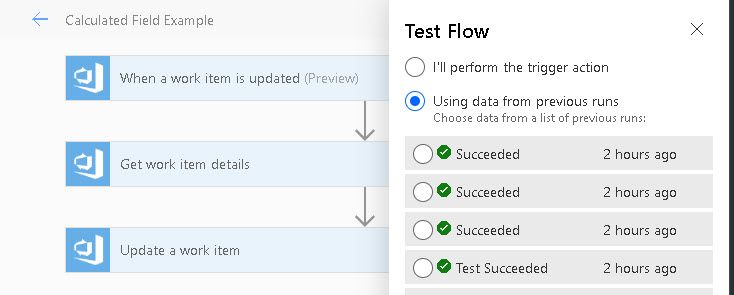
Your flow should have green ticks for each stage. If any are red then you can click the step to find out the exact cause.